
LibreOffice options page provides rich set of settings for everyone who wants to tune LibreOffice to match their needs. But, what if you as a developer, need setting dialogs that are needed elsewhere in the LibreOffice application? Here I discuss some of such use cases, which are handled by defining UNO commands.
Options Page
The code for providing “Tools > Options” is not in a single module, but main part resides in cui module, which contains code which is used across different modules. Looking into cui/source/options/ folder from LibreOffice core source code, you can see various different source files related to the options. The biggest file there is cui/source/options/treeopt.cxx, which is the actual implementation of the tree-based dialog that you see when you open Tools > Options dialog. There are other C++ files that handle .ui files related to options. You can find those UI files in cui/uiconfig/ui/ folder with a name like opt*.ui:
$ ls cui/uiconfig/ui/opt*.ui
These files can be edited and they are used as described in the LibreOffice design blog:
UNO Dispatch Commands
Only some of the dialogs can be opened available via UNO dispatch commands. As an example, you may see “.uno:AdditionsDialog” is used both in cui/source/options/optgdlg.cxx for creating a dialog in Tools > Options (when you click for “more icons”), and also in sfx2/source/appl/appserv.cxx.
You can try running this UNO command in LibreOffice BASIC editor with this code snippet:
Sub Main()
    Set oDispatch = CreateUnoService("com.sun.star.frame.DispatchHelper")
    Dim args(0) As New com.sun.star.beans.PropertyValue
    Set oFrame = StarDesktop.Frames.getByIndex(0)
    oDispatch.executeDispatch(oFrame, ".uno:AdditionsDialog", "", 0, args)
End Sub
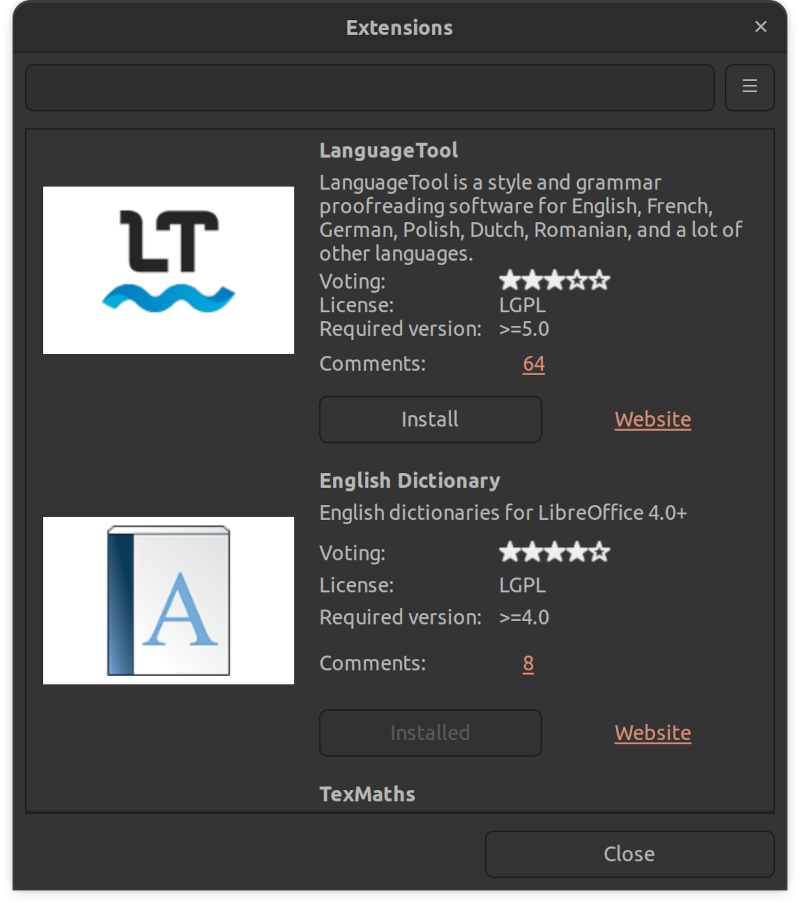
The above command is defined specifically to help developers use the “Extensions” dialog, anywhere in LibreOffice UI, from top menus to context menus and toolbars and also in code, in a simple way.
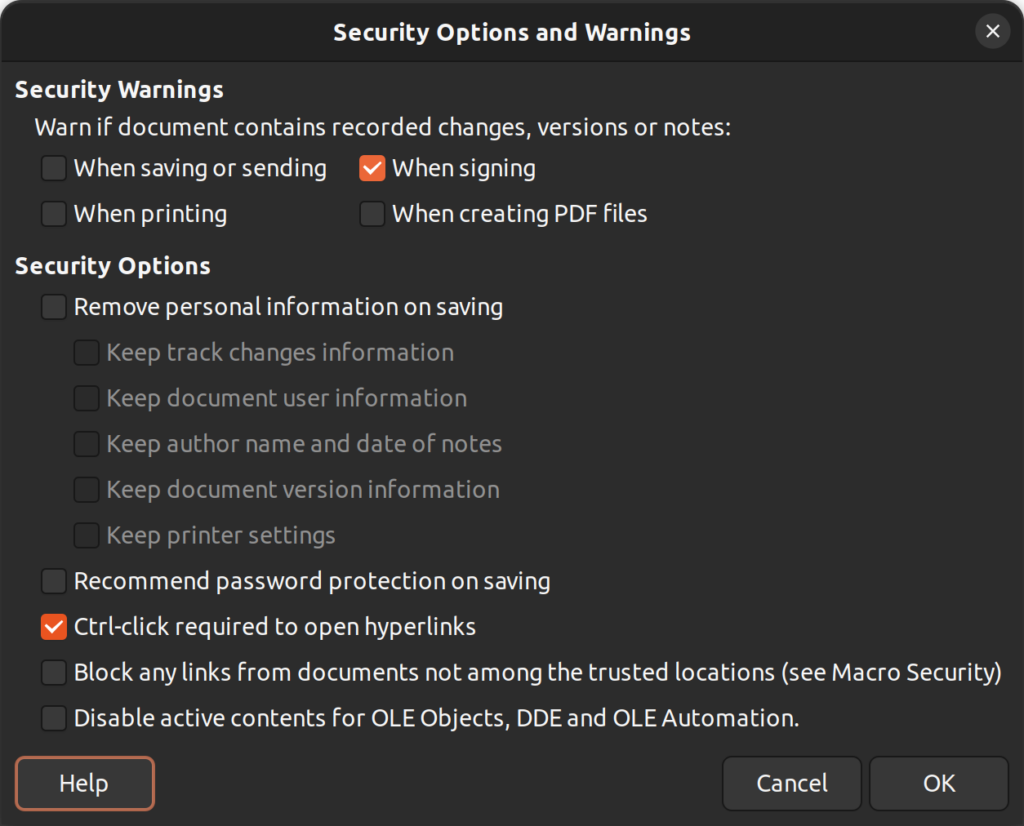
There is another dialog titled “Security Options and Warnings”, which is opened through .uno:OptionsSecurityDialog UNO command. In this way, it can be used easily in other modules of LibreOffice.
Implementing UNO Command
Adding a new UNO command was discussed before, in a separate blog post:
Adding a new UNO command for an options dialog is basically the same. There can be differences regarding the configurations and the data that is passed between the dialog and the caller.
When you create a dialog box directly like the code snippet below, you have access to the member functions defined for that specific dialog:
IMPL_LINK_NOARG( SwGlossaryDlg, PathHdl, weld::Button&, void )
{
    SvxAbstractDialogFactory* pFact = SvxAbstractDialogFactory::Create();
    ScopedVclPtr<AbstractSvxMultiPathDialog> pDlg(pFact->CreateSvxPathSelectDialog(m_xDialog.get()));
    SvtPathOptions aPathOpt;
    const OUString sGlosPath( aPathOpt.GetAutoTextPath() );
    pDlg->SetPath(sGlosPath);
    if(RET_OK == pDlg->Execute())
    {
        const OUString sTmp(pDlg->GetPath());
        if(sTmp != sGlosPath)
        {
            aPathOpt.SetAutoTextPath( sTmp );
            ::GetGlossaries()->UpdateGlosPath( true );
            Init();
        }
    }
}
As you can see, pDlg->GetPath() is accessible here, and you can use it to pass data. But when you are using UNO commands, those functions will not be available directly. Instead, you may pass values that denote the data that will be read from somewhere else, like the configuration.
For example, consider there are multiple paths that you may want to edit using this UNO command with the same dialog. In this case, you can pass a value that shows the associated path that you are changing. It can be passed as an enumeration, and then you set and/or get the value directly from the configuration.
In this way, the callers in the C++ code will have much easier task to do, as it is only calling the UNO command, and the rest is done in the implementation of the UNO command.
For AdditionsDialog, the calling code is as simple as this in cui/source/options/optgdlg.cxx:
IMPL_STATIC_LINK_NOARG(OfaViewTabPage, OnMoreIconsClick, weld::Button&, void)
{
    css::uno::Sequence<css::beans::PropertyValue> aArgs{ comphelper::makePropertyValue(
u"AdditionsTag"_ustr, u"Icons"_ustr) };
    comphelper::dispatchCommand(u".uno:AdditionsDialog"_ustr, aArgs);
}
Passing Parameters to UNO Commands
UNO dispatch commands can take parameters. As an example, take a look at .uno:NewDoc defined in sfx2/sdi/sfx.sdi:
SfxStringItem NewDoc SID_NEWDOC
(SfxStringItem Region SID_TEMPLATE_REGIONNAME,SfxStringItem Name SID_TEMPLATE_NAME)
[
...
]
As you can see, there are two parameters:
SfxStringItem Region SID_TEMPLATE_REGIONNAME SfxStringItem Name SID_TEMPLATE_NAME
The SfxStringItem is the type, Region and Name are the names of the parameters, SID_TEMPLATE_REGIONNAME and SID_TEMPLATE_NAME are the constants used for passing parameters. The parameter type is not limited to numbers and strings, and it can be any defined class.
To set and get data for this parameters, you may use appropriate Set and Put functions. For example, this gets the parameter if set:
const SfxStringItem *pItem = rSet.GetItemIfSet( SID_TEMPLATE_REGIONNAME, false)
Or, this sets the data:
OUString sVal = u"test"_ustr;

rSet.Put( SfxStringItem( SID_TEMPLATE_REGIONNAME, sVal ) );
Final Notes
To get to know better how to implement more complex UNO dispatch commands, you can refer to the implementation of the existing UNO commands to get idea about how they are implemented. You can see a comprehensive list of UNO commands here: