In LibreOffice development, there are many cases where you want to validate some documents against standards: either Open Document Format (ODF) or MS Office Open XML (OOXML). Here I discuss how to do that.
Update: Article updated to reflect that odfvalidator 0.13.0 has just released.
Open Document Format (ODF) Validation
ODF is the native document file format that LibreOffice and many other open source applications use. It is basically set of XML files that are zipped together, and can describe various aspects of the document, from the content itself to the way it should be displayed. These XML files have to conform to ODF standard, which is presented in XML schemas. The latest version of ODF is 1.4, which is yet to be implemented in LibreOffice.
You can find more about ODF in these links:
There are various tools to do the validation, but the preferred one is the ODF Toolkit Validator:
Compiled binaries of ODF Toolkit can be downloaded from the above Github project:
Then, you can use the ODF validator this way:
$ java -jar odfvalidator-0.13.0-jar-with-dependencies.jar test.odt
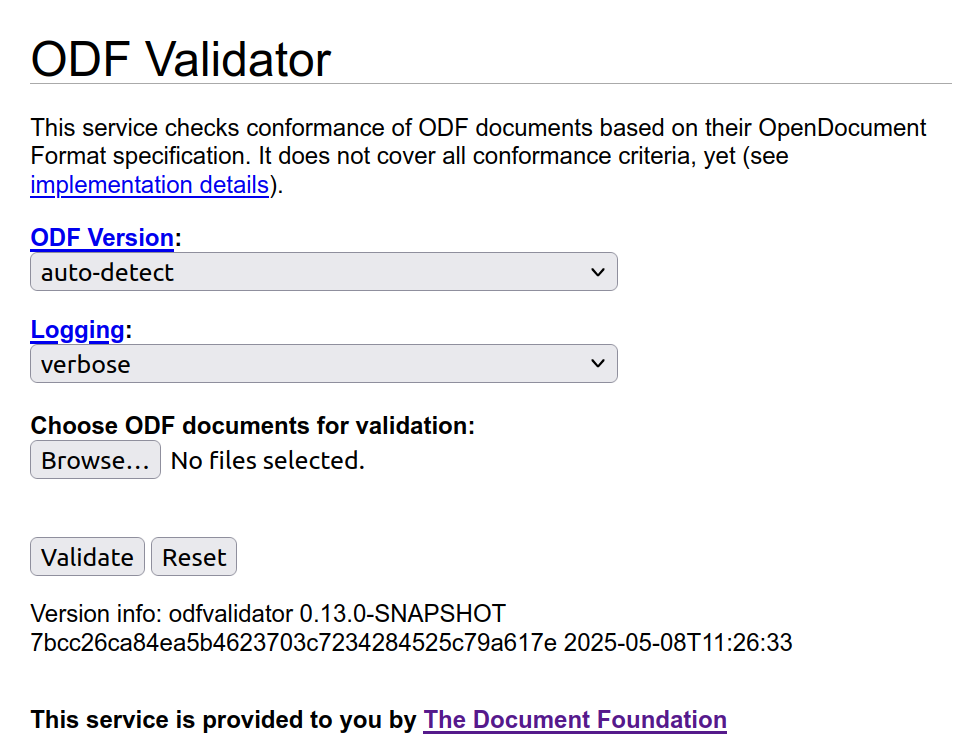
You may also use the online validator, odfvalidator.org, to do a validation.
Please read this disclaimer before using:
This service does not cover all conformance criteria of the OpenDocument Format specification. It is not applicable for formal validation proof. Problems reported by this service only indicate that a document may not conform to the specification. It must not be concluded from errors that are reported that the document does not conform to the specification without further investigation of the error report, and it must not be concluded from the absence of error reports that the OpenDocument Format document conforms to the OpenDocument Format specification.
Office Open XML (OOXML) Validation
MS Office Open XML (OOXML) is the native standard for Microsoft documents format. It is also a set of XML files zipped together, and conform to some XML schemas.
You can find out more about OOXML here:
There are tools to do the validation, and the one is used in LibreOffice is Office-o-tron. One can use it with below command to validate an example file, test.docx:
$ java -jar officeotron-0.8.8.jar ~/test.docx
Office-o-tron can be downloaded from dev-www.libreoffice.org server of LibreOffice, and this is currently the latest version:
It is worth noting that Office-o-tron can be also used to validate ODT files.
Extensions to ODF Standard
To go beyond the current ODF standard, new features are sometimes introduced as “ODF extensions”, then are gradually added to the standard. You can read more in TDF Wiki:
In these cases, you may see validation errors for such extensions. For example:
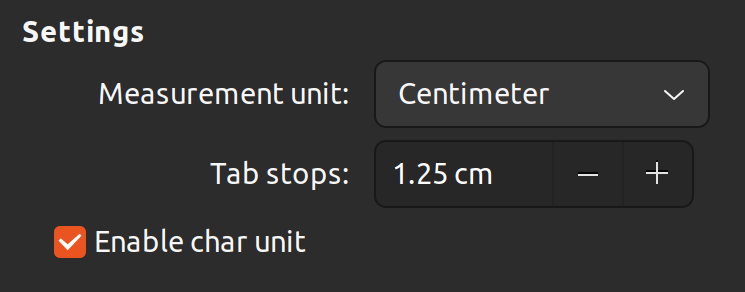
test.odt/styles.xml[2,3347]: unexpected attribute “loext:tab-stop-distance”
test.odt/styles.xml[2,4849]: unexpected attribute “loext:opacity”
You may avoid such errors by using -e option, which ignores such unknown markups:
-e: Check extended conformance (ODF 1.2 and 1.3 documents only)
If you want to use the latest features from ODF validator, you should build ODF Toolkit from source. You can then run it with this command:
$ java -jar ./validator/target/odfvalidator-0.14.0-SNAPSHOT-jar-with-dependencies.jar test.odt
ODF Toolkit developers have recently (23 January 2026) published the new release 0.13. If you do not build from sources, you can use this new version which contains ODF 1.4 support.
Final Words
When you want to make sure that the ODT or OOXML document you generate is valid according to the standards, then you need validation. Sometimes, it is the opposite: you want to make sure that the input document is valid before processing it, or when you want to know if the problem is from LibreOffice (or other processors), or the document itself. Then, again, the validator is the right tool to use.